Energy efficient LED Pumpkin – A step by step guide
Posted on October 28, 2015
Pumpkins are a must have for Halloween festivities, in order to create a spooky masterpiece, here is a step by step guide to an energy efficient LED pumpkin.
Step 1: Once you have selected your pumpkin, cut around the top of the pumpkin using a keyhole saw or knife, or alternatively, as an LED light will be used instead of a candle, you can cut a hole at the bottom or the side of the pumpkin.
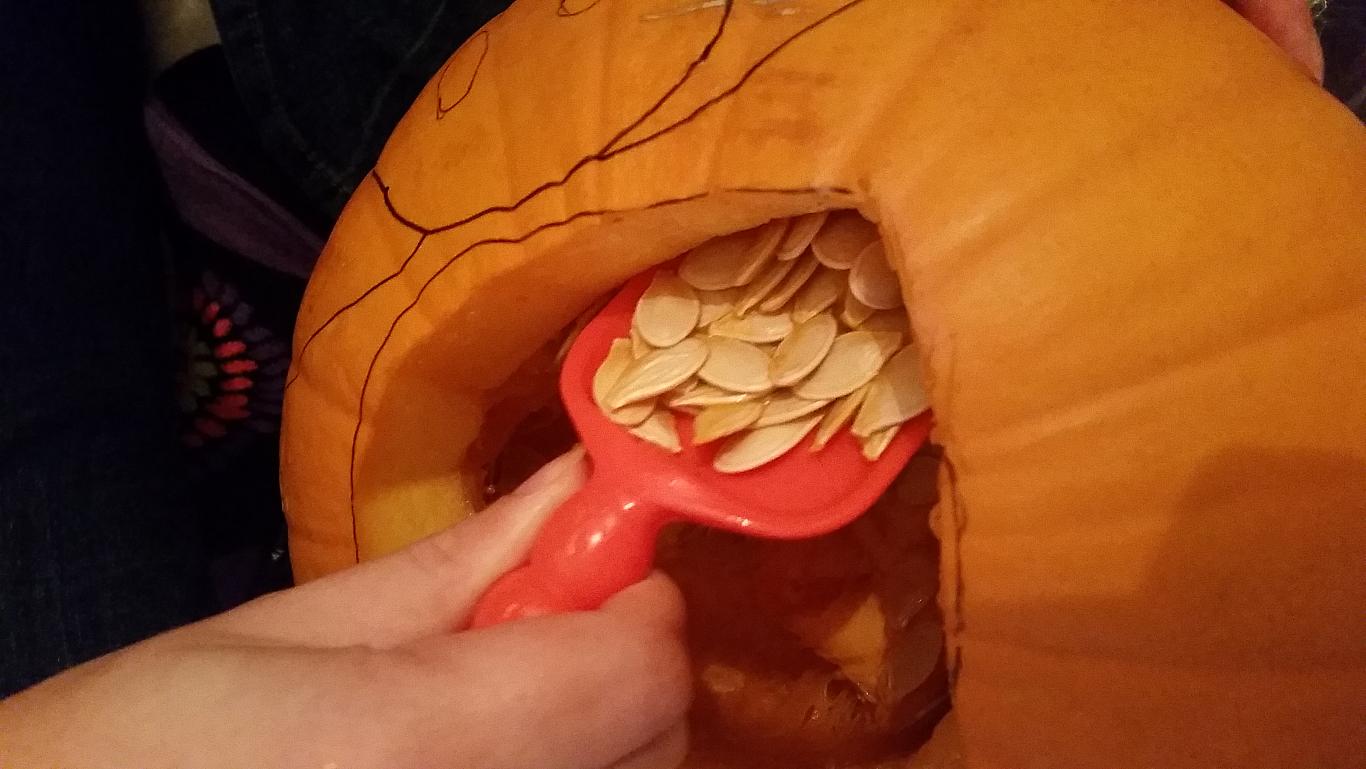
Step 2: After the whole has been cut, scoop out the flesh of the pumpkin. A fleshing tool is an easier way to scoop the flesh, however if you don’t have one of these handy, then a metal spoon can be used.
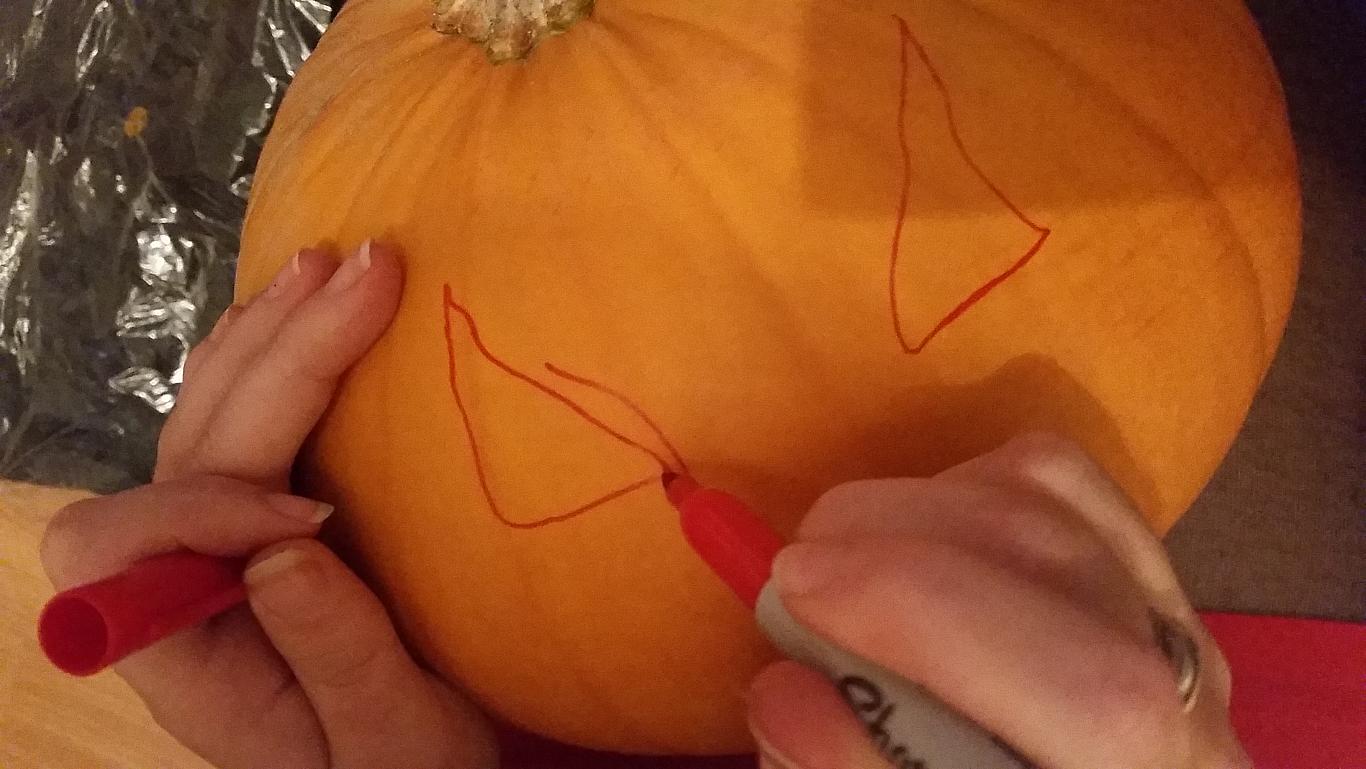
Step 3: Once the flesh has been scooped out, it is time to get your creative juices flowing. Draw the outline of the image you want on the pumpkin, alternatively you can draw a template on a piece of paper and attach it to the pumpkin. There are plenty of ideas on the internet to choose from.

Step 4: Now you have your outline, the carving begins. Using a needle tool can be a good tool to use for more intricate designs and for more accuracy.
Step 5: Once you have completed your carving, it is now time to illuminate your pumpkin with an energy efficient luminaire. Not only will you have an impressively light pumpkin, but an energy efficient pumpkin without the worry of safety, and it will be able to last you for many more Halloweens to come.